More repairs and suspension tuning
Thorens TD125Mk2 strobe repair and suspension tuning
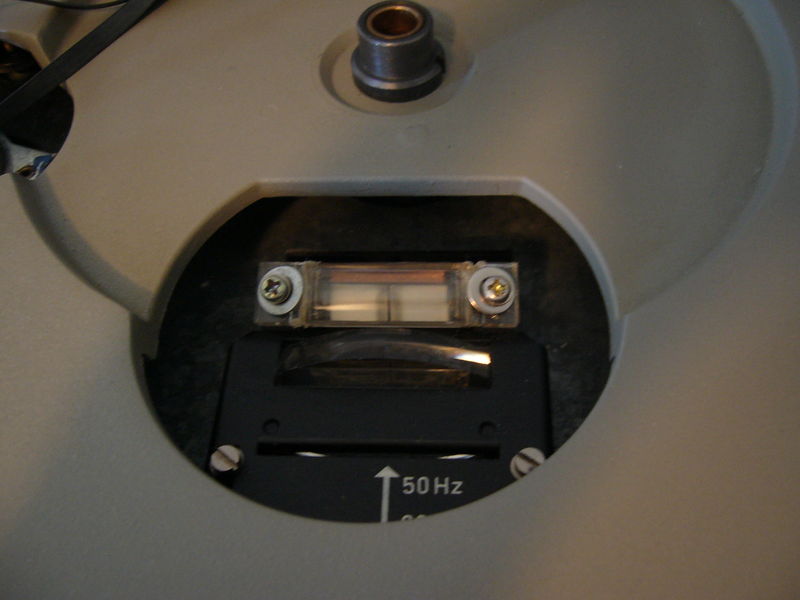
Here you cans see the longer machine screws (very fine pitch threads- possibly metric) and the larger washers "biting down on the edges of the broken fresnel. The fresnel keeps the neon bulb against the contacts. The washers are completely unseen through the viewing window.
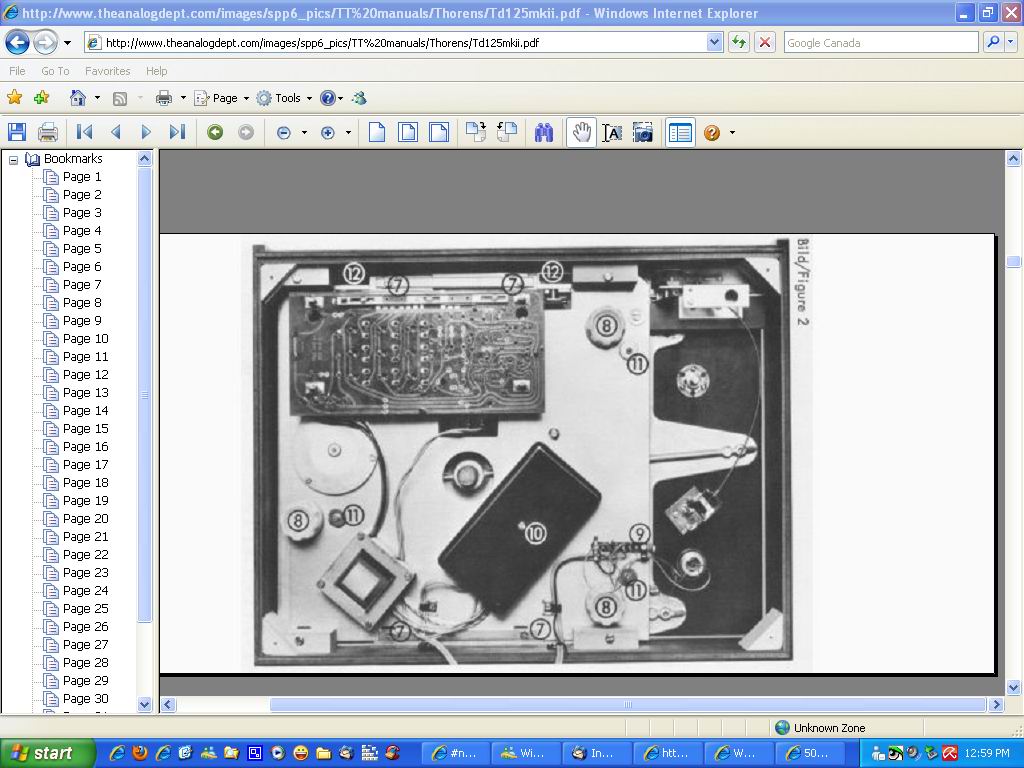
Underside of the TD125Mk2 (screen cap is from a Thorens manual on the "Analogdepot" website- note url at top of pic).
The white knurled nylon knobs labeled "8" are the suspension tuning knobs. Clockwise increases spring pre-load and tension, and therfore increases the "ride height" of the suspended portion of the deck. Counter-clockwise obviously reduces spring pre-load, and therefore will lower the "ride height" in those areas of the table they serve. After removing the platter, sub-platter and belt I flipped the beast over on to 2 pillows to support the t-table gently, and also so it AVOIDS pressure on the tonearm! The tonearm hangs outside the pillows, and the headshell and cartridge were obviously removed and the tonearm was tied to the rest ass'y with "garbage bag ties" so it would stay in the rest. As seen in the .pdf image above, the knob at top right is the front of the armboard spring, the one below it is the back of the armboard spring, and the knob at the left is the laft side of the table and platter ass'y. While my method of supporting the table works, it was time consuming and dumb. I didn't expect to spend so much time messing with the tuning and I should have made an open wooden frame to leave the table right-side up and crawl underneath it, or as someoneone else suggested pile up some cinderblocks, bricks or something, and place some 2x4's across them, rest the table on that, and crawl underneath.
On my table, the front of the armboard spring had sagged the most and had just barely bottomed out and was not suspended anymore. I (by trial and error and a bubble level) adjusted spring pre-load on all springs so the suspended chassis-board was floating freely at approximately midway in each springs travel (by feel alone), so that there was more or less equal compression and rebound on all the springs, and the the suspended board ass'y was as level as possible (bubble level on platter and rotate platter around to check all positions). I also tried to get it to rebound more or less stright up-and-down when you pushed down on the platter ass'y at the spindle. It was impossible to get it perfect AND SATISFY my "preload and rebound" requirements, but I got it quite close. The reason it isn't perfect is because each spring had sagged to varying degrees, and therfore all had differing spring rates and compression. I had to flip it back over and re-install the sub-platter and platter to check the rebound and level obviously, after each adjust! Now you can see why I did it the long way around! I just didn't think it would take hours of flipping it over and over! One adjustment impacts the spring preload on the others to some degree, and this is why it is a "tuning procedure, and not just cranking the knobs a few times, and you're done. It took far longer than it should have- make a frame or stack some bricks and leave it upright!

